.png?width=300&height=50&name=kb-logo-alt%20(1).png)
In this article we'll cover how to:
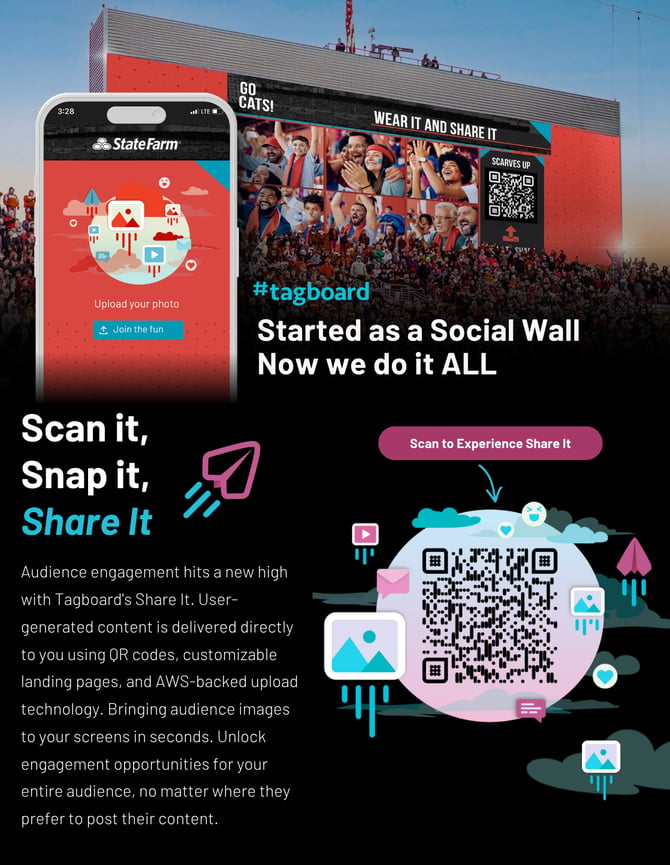
Create a Share It Feed
Start by creating a Page! If you haven't create a Page before, follow these steps here.
When creating a page, you will have the option to add a Share It element to the page, allowing audiences to click and upload.
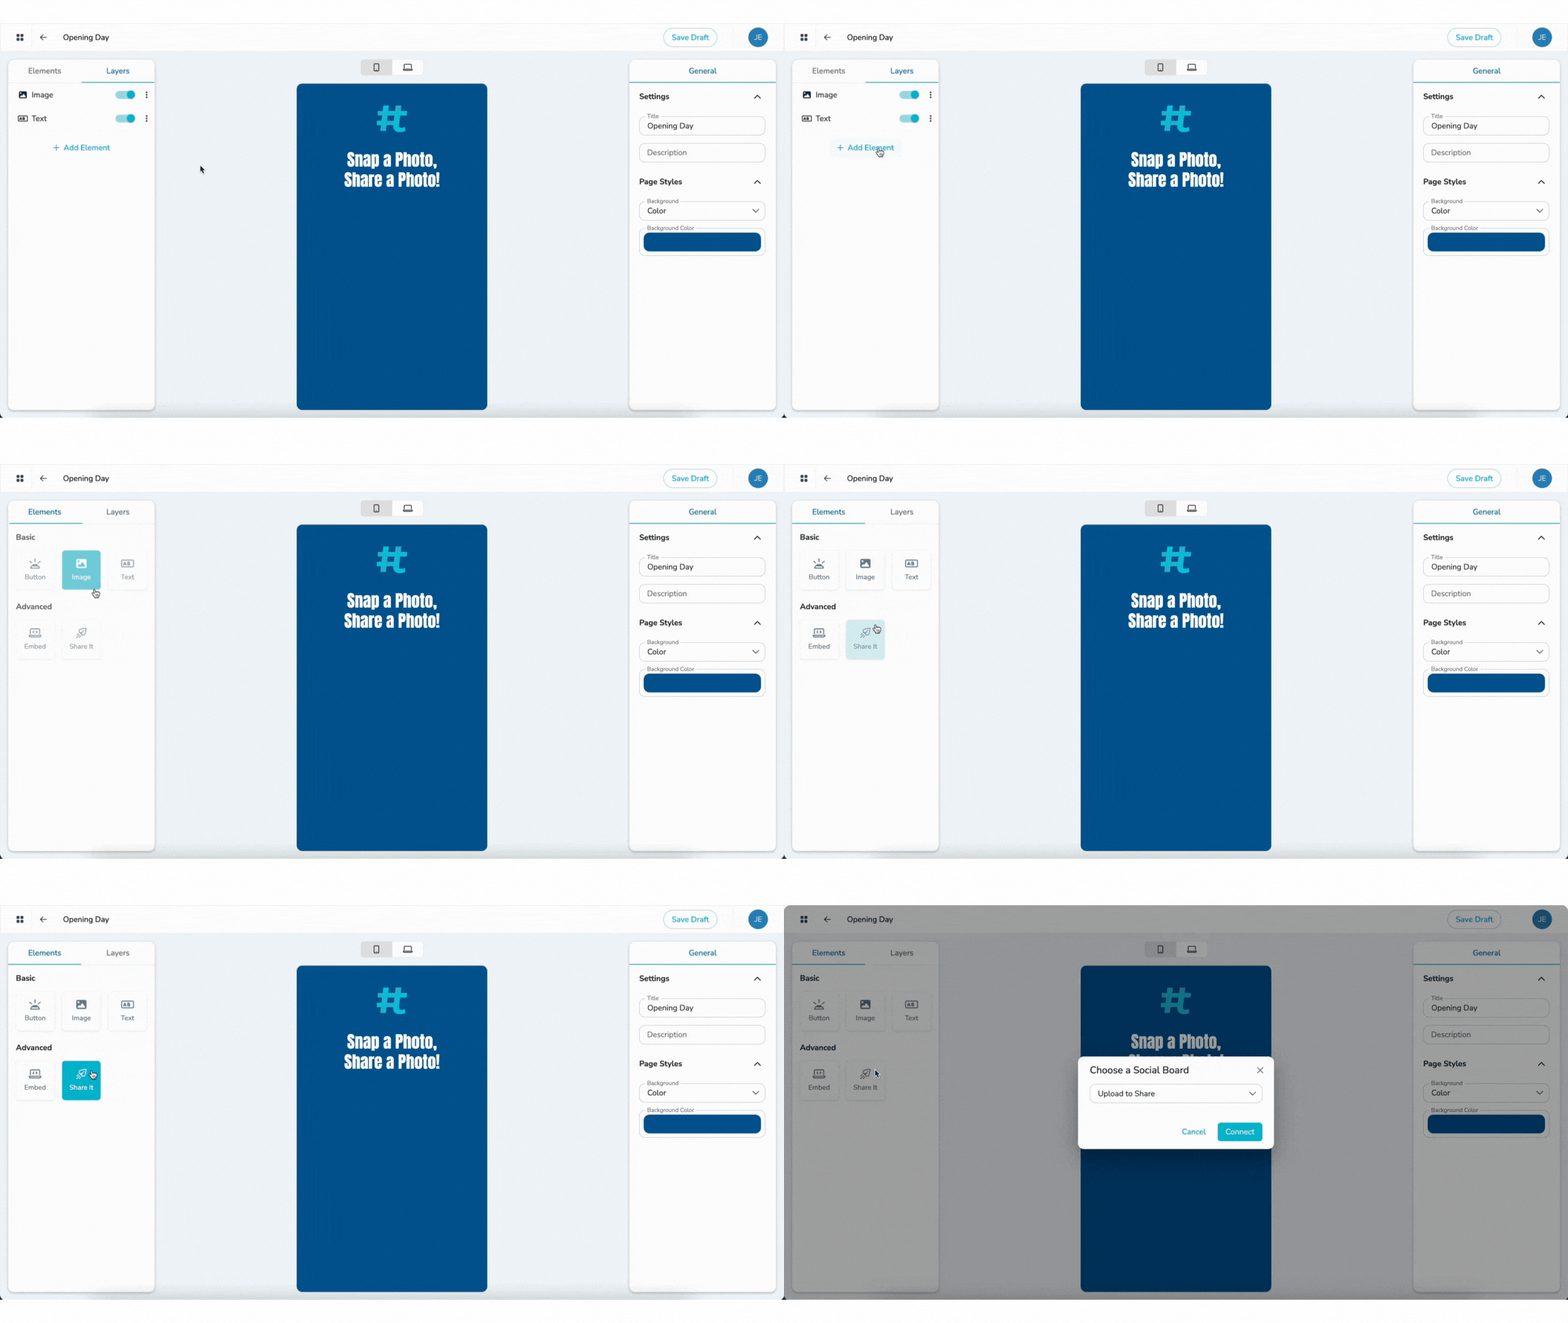
Here, you will connect your Share It Feed to a Social Board. This is where your Share it uploads will be collected, so you can moderate and feature the content. You can select an existing Social Board, or create a new one.
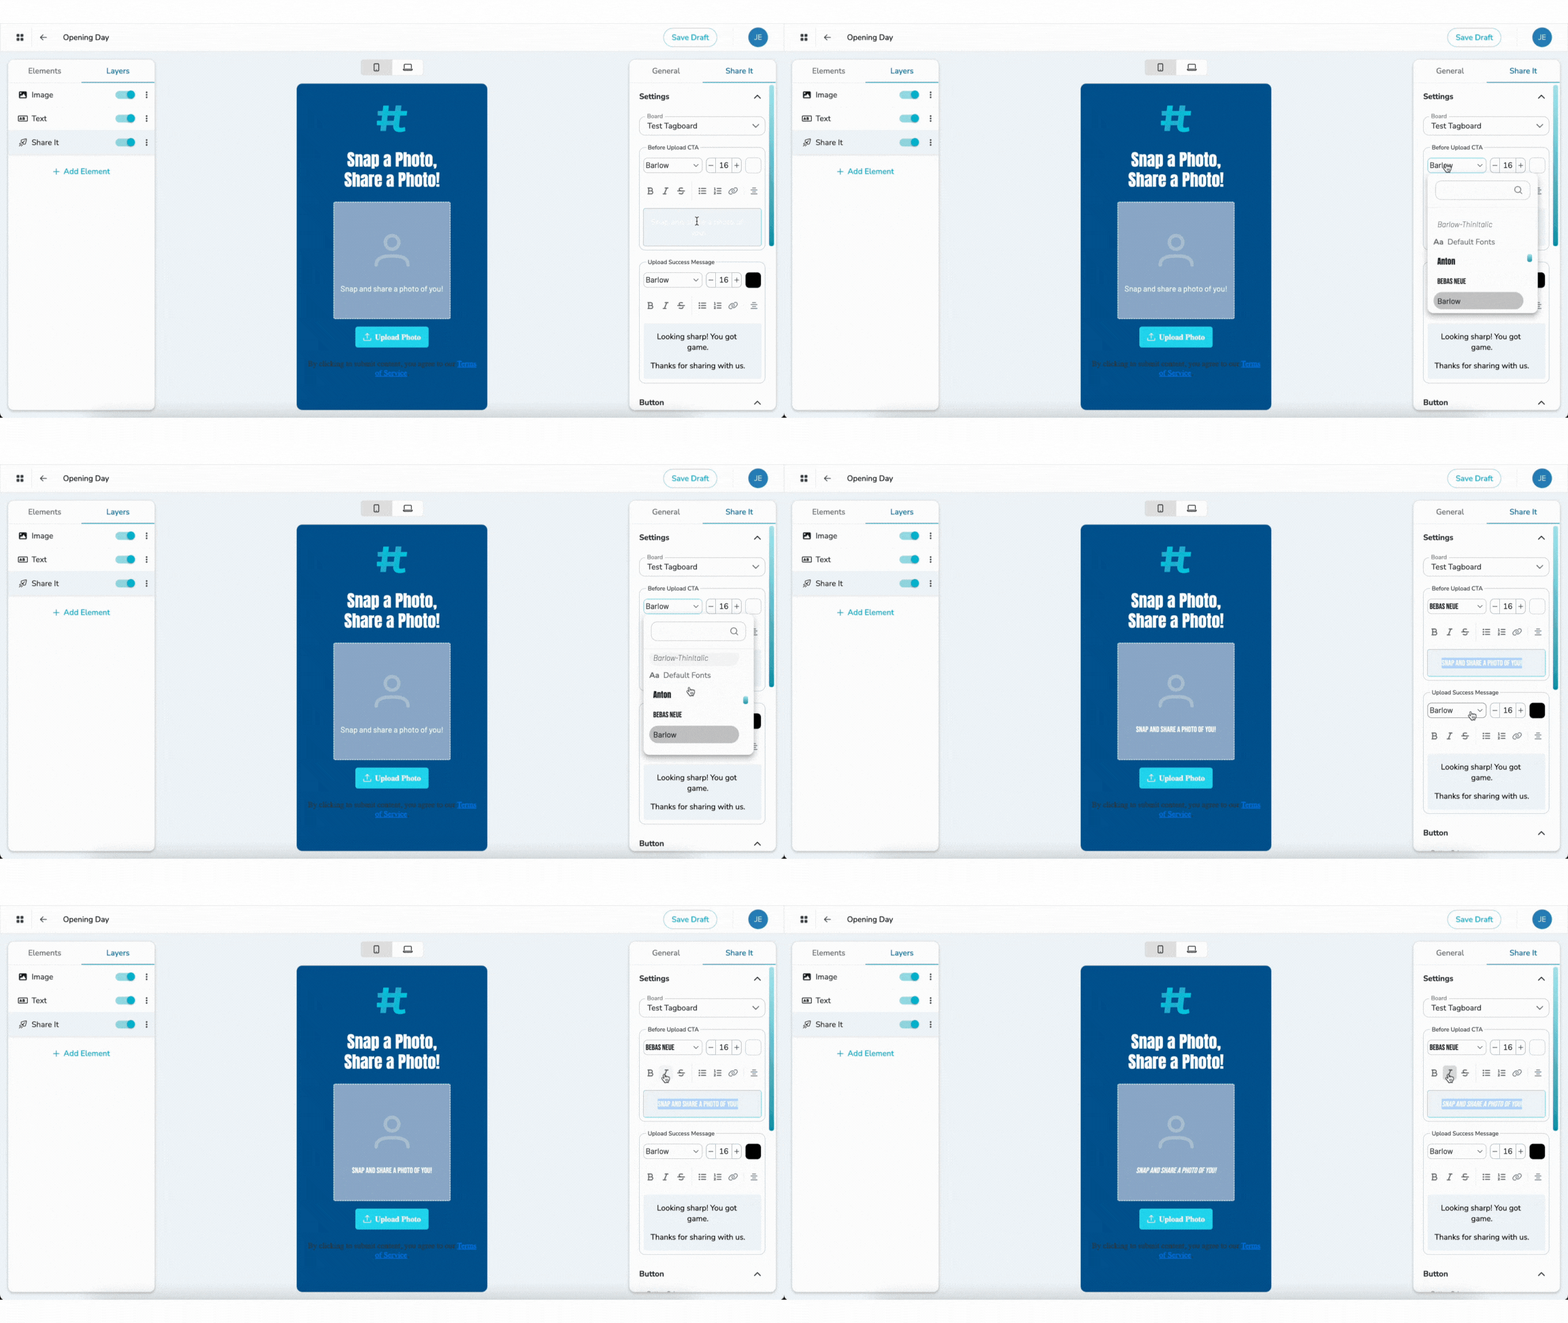
Next, customize the Share It layer to match your branding and design.
By default, Share It will ask for a photo, display name, and comment. You can choose which items you want to collect and/or require.
You can also collect Personal Information (PII) along with Share It, including first name, last name, email, phone number, and up to 3 custom fields. To learn more about collecting PII, check out this guide.
💡 Need ideas for how to use custom fields? Sports teams want seat and section info so they can deliver a prize. Events can confirm someone's 21+ with a custom checkbox, or get a zip code for compliance.
Publish your page, and copy the Page URL.
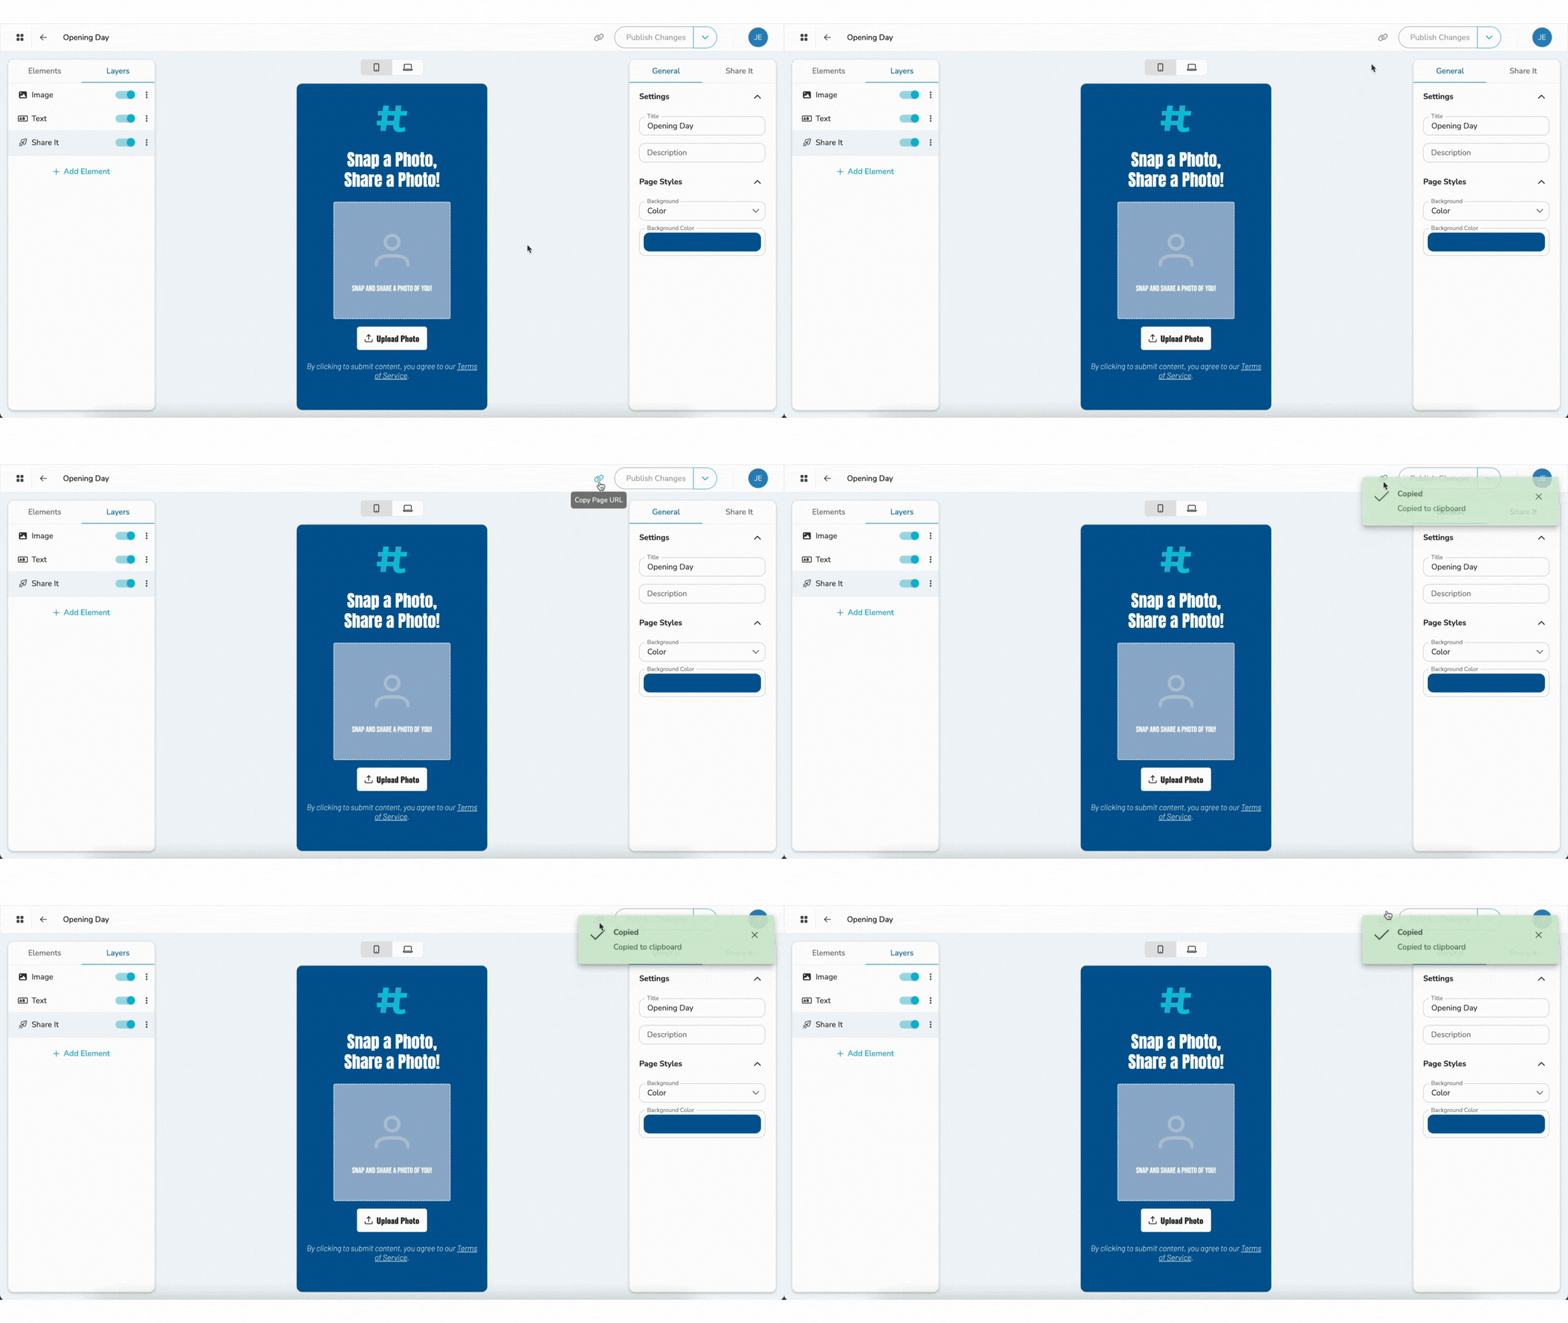
Insert this URL as the QR Code Destination in your Social Graphic, so your audience can easily scan to join the conversation.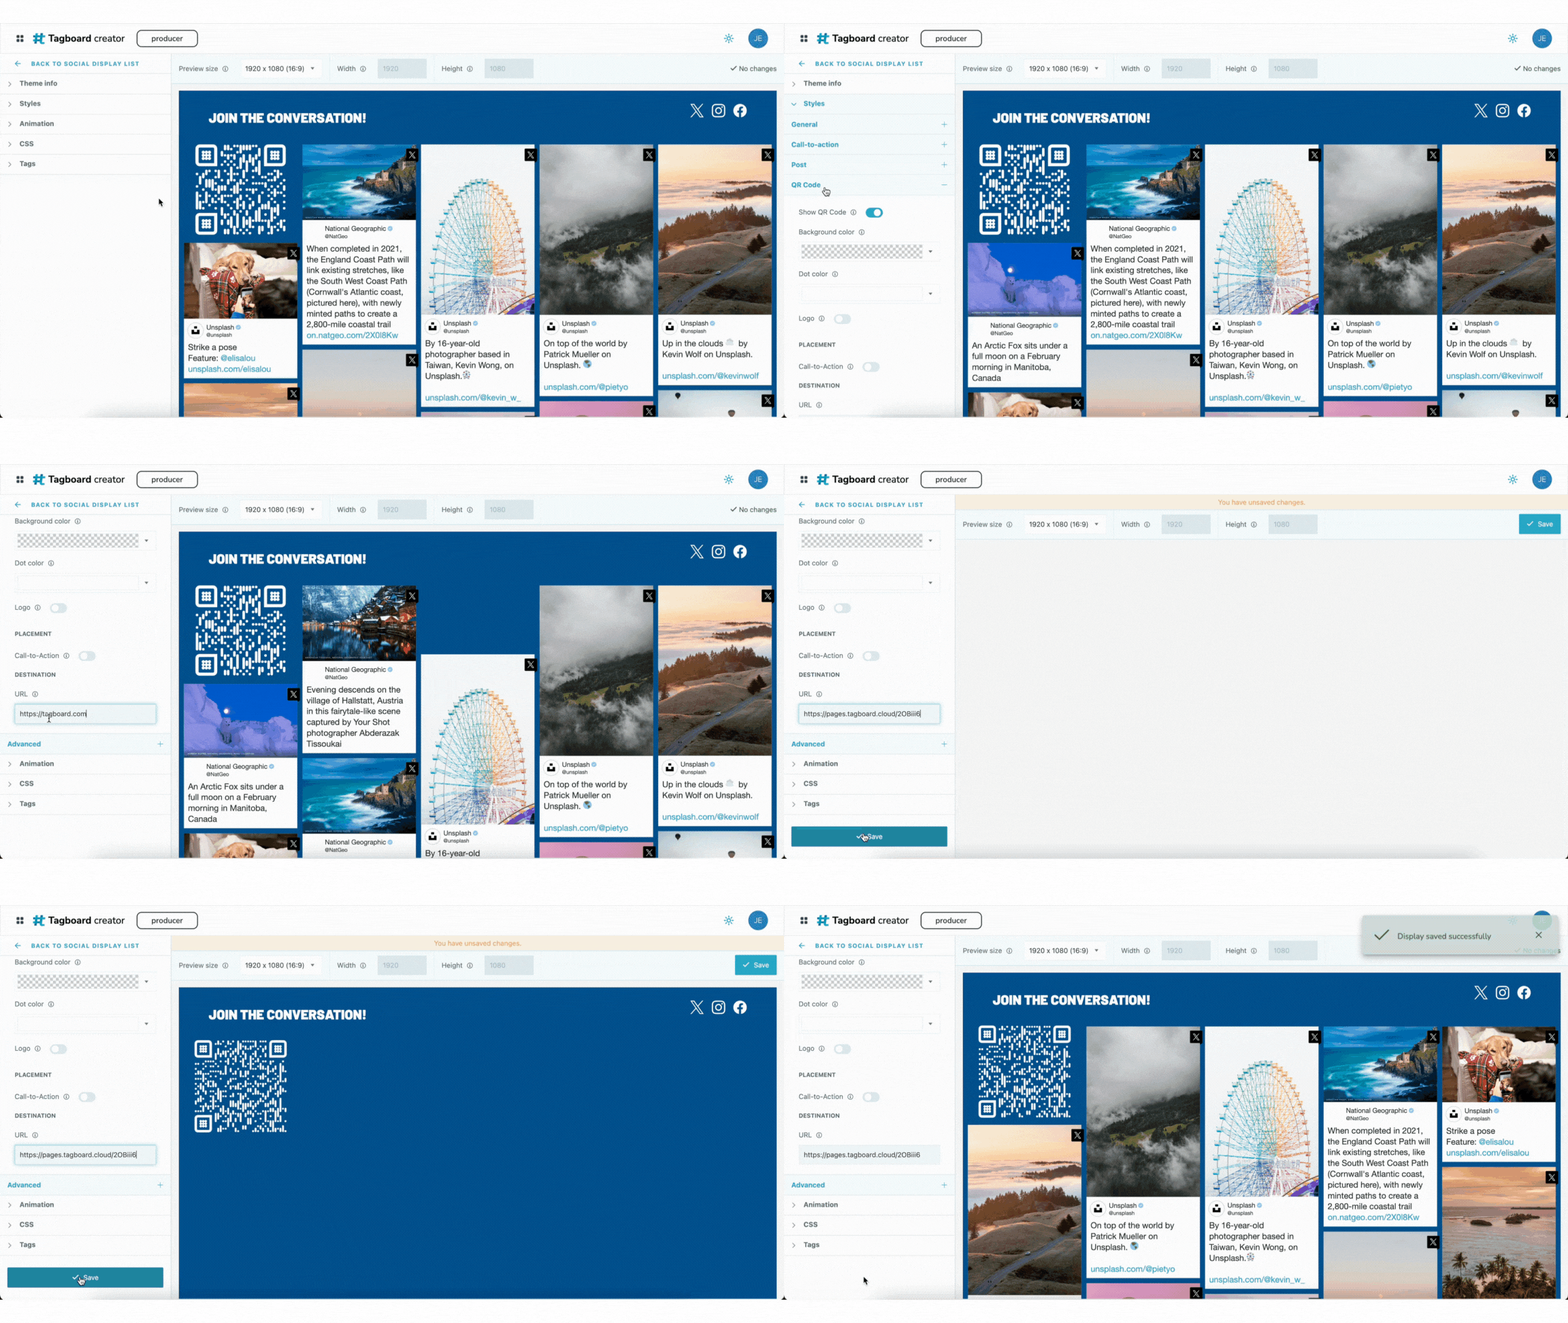
Curate Content
Now that your Share It Feed & Social Graphic are ready, it's time to curate content. Head over to the Social Board that you connected to your Share It feed. On the 'Feeds' tab, click the blue check mark to feature or curate a post for display. We've got a full breakdown of using Social Boards & Featuring Content here.
Retention Policy: Share It Uploads that you choose to feature will be retained for 1 year from the upload date. Share It uploads that have not been featured will be retained for 60 days.
Access Share It Analytics
Select Analytics from your Creator Dashboard, and select Share It. You can filter your analytics by feed(s) and/or date, to view the number of Share It posts submitted & featured.
Note: "Posts Featured" counts every feature action, not unique posts. If a post is featured, unfeatured, and featured again, each feature counts toward the total. Some workflows do this intentionally, which means it's possible for Posts Featured to exceed Posts Submitted over a given time period.
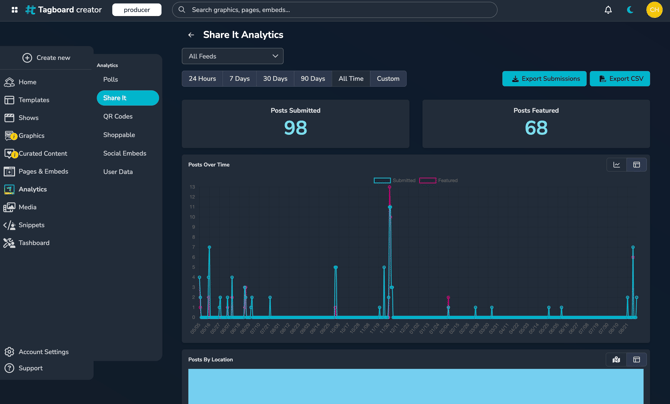
You can also view votes over time and votes by location. Share It analytics will date back to May 2025, however location data is available for posts after August 28, 2026.
Export Share It Downloads
You have a one-click option to download your Share It submissions. This is available in 2 places:
- Click Export Submissions in Share It Analytics. This will respect any filters you've applied, so you can download submissions from a set date range, or download multiple feeds together.
- Export Submissions from a Social Board. This will download all uploads from that specific Feed

Retention Policy: Exports are only available during the 60 day retention window. Analytics summary data (submission and feature counts) is retained indefinitely.
Bulk downloads cap out at 10GB. Trying to grab a big batch of images? Narrow the date range in Share It Analytics first and download in smaller chunks.
You can also download the CSV from Share It Analytics, which includes a media link for every post. Just know those links aren't permanent. Once a post ages out of the retention window (see above), the link stops working.