How to create, continuously monitor, and delete content feeds.
Using a content feed will allow you to track a #hashtag or @username for an ongoing time (i.e. during your campaign, game, or show). With content feeds, you can setup filtered content feeds by network [Instagram, Facebook, and YouTube] that automatically feed into your moderation dashboard. All of this being in real time.
Before continuing, ensure your account has account connections set up. If you go to "Account Connections" within your account and see none, then contact your Team Owner. They will need to set social account connections [with help from this article].
Below, you will find the ways to
Note:
If you are looking to feature content from X, TikTok, Heymarket, or Twitch you will want to visit our "Feature Content via Chrome Extension" article as these have no direct integrations with feeds.
Creating a content feed
Step 1
After you've created a tagboard [click "Tagboards" on left sidebar then "+ New Tagboard" button in top right corner], you'll want to choose "Create a Content Feed"

Step 2
Select which social network you want to use.

If you're looking for X, Twitch, or Heymarket, check out the Tagboard Curate Extension.
For more information on how to use Share It, visit Gather & Display Direct UGC and Share It.
- Facebook content can ONLY be featured via content feed! Posts and comments on your posts for your authorized Facebook Pages are all that can be featured. Any posts, or comments on those posts, PRIOR to a Facebook content feed being set up will not populate in your tagboard. Only posts and comments from the time your feed is set up and moving forward will appear in Tagboard. See Feature Facebook Content for insights into this workflow.
Step 3
Select the type of feed [each network varies]
- Instagram
- Hashtag - create a content feed based off a hashtag for manual content curation
- Business profile - create a content feed for a specific account for manual or automatic curation
- Facebook
- Business page - ONLY populates your authorized [/connected] Facebook Pages and posts from the point of setting up a content feed moving forward
- YouTube
- User - create a content feed for a specific account for manual or automatic curation
Step 4
Name your feed and select a hashtag or user. If you're like to further filter your results, select 'Advanced Settings'. Here you can add additional filters including:
- Post type (photo, video, text),
- Required Keywords,
- Blocked Keywords,
- and Conditional Keywords.
- User feeds also have an option to auto-feature content. This means that all posts from this user will be automatically featured, to be displayed on your connected screen. (Note that posts will only auto-feature going forward, not retroactively).

Step 5
Click 'Save Feed' and you're all set! You can create additional feeds, or head to your Social Board to start curating content.

Feature content from your feed(s)
Click the "Feeds" tab in the upper left of your moderation dashboard. This will display your first content feed. You can switch between your Feeds using the dropdown in the upper left corner. Selecting "Latest Posts" will display an aggregated view of all feeds together.

Click the blue checkmark to feature a post. You can also click on an individual post to expand the post, so you can read the entire caption. Use the arrow keys to quickly sort through posts.

Manage your content feed(s) and additional navigation
Adding additional feed(s)
You can create a new feed at any time by selecting the 'Add New Feed' icon in the upper right corner, then follow the steps within "Creating a content feed" above.
Feed options
Selecting the three dots on the far right side of your moderation dashboard will display your feed options.

- Turn off auto-featuring: This will only be available in a "user" feed where auto-featuring is enabled.
- Edit feed settings: Make adjustments to the feed name or Advanced Settings
- View feed stats: See a snapshot of analytics, including daily post counts of content ingested into your social feed
- Manage feeds: delete or edit a feed on your social board
Featuring Content to Another Dashboard
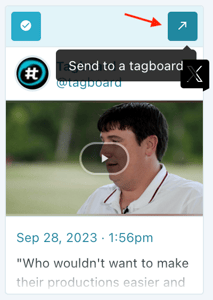
You can use separate Social Boards to organize different types of content or to move content through a multi-layer approval process [i.e. if several people in your organization need to sign off on each individual post]. Click on the arrow in the upper right corner of a grid containing a social post to feature content to another Social Board.

This will open a modal with a full list of your Social Boards. Click the 'feature' button on the right to feature that post to another board.
Reordering Your Story
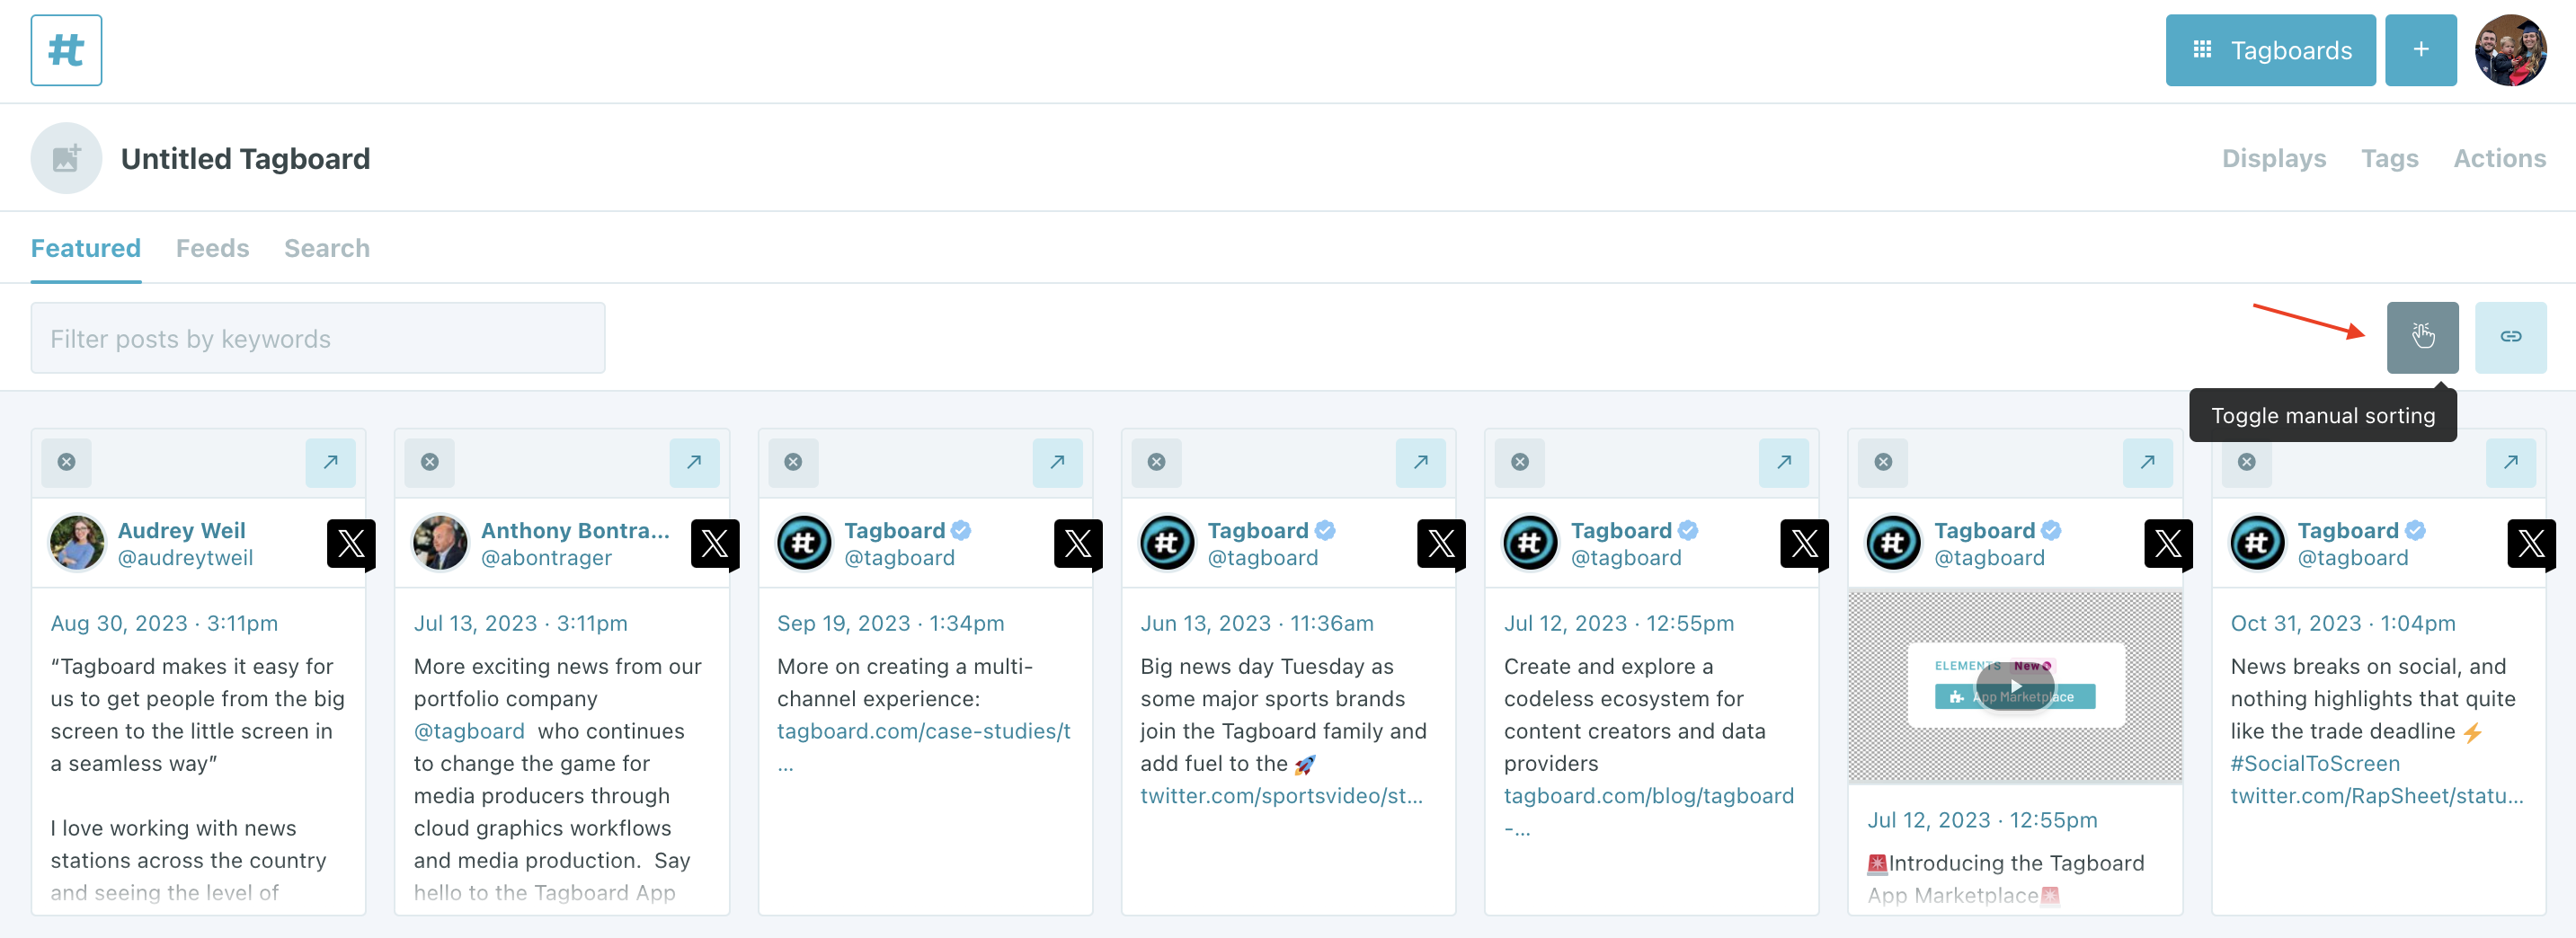
To reorder your featured content, click on the 'Toggle Manual Sorting' button on the far right side of your moderation dashboard. This will enable manual sorting mode, so you can drag and drop your content into any desired order.
❓ Frequently Asked Questions ❓
Why are older posts not showing in my content feed(s)?
Due to social media guidelines, Tagboard cannot archive social posts. Social posts will live in your ‘Feeds’ tab of Tagboard for ~(2) months. You can prevent content from dropping off your tagboard by featuring content. Social posts that you feature will live in your ‘Featured’ tab indefinitely.
If you want to go back and feature those older posts that have been removed, you can use Tagboard's Chrome Extension and feature those directly from the social network to keep them in your featured tab.
Why does it look like I'm missing social posts in my dashboard?
Tagboard utilizes source network public APIs to aggregate public social posts. To ensure your tagboard is receiving all of the posts your community is posting, it is important to understand a few things:
-
-
- Tagboard only aggregates public posts. Any private posts will not aggregate to Tagboard.
-
Tagboard does not aggregate native retweets or cross posts (e.g. tweets with Instagram photos)
-
Source network API outages sometimes occur
-
Sometimes posts aren't indexed by the source networks in their search APIs. This can be related to a number of variables, including spam protection or how new an account is.
-
Why am I getting an error when I try to feature Facebook content?
For security reasons, Facebook will expire the connection to third party apps, such as Tagboard, at random intervals. The good news is, it's a simple fix! Have your Tagboard team owner log into their Tagboard account, then click 'Account Connections' on the left sidebar. This individual will see a list of Facebook Pages that they are an admin on. They can check the Status column to confirm which pages are and aren't connected. Find the Page you want to re-connect to Tagboard to feature content from. To refresh your token, click 'Disconnect' then 'Connect' once more. A green Status light indicates you're now you're good to go!
Why do Instagram posts say "POST UNAVAILABLE"?
Instagram provides Tagboard with a unique URL for each featured post to redisplay content. Instagram expires those URLs at random intervals, for privacy purposes. But it's an easy fix. Refreshing the tagboard, or in some cases re-featuring the post, provides a new URL that displays the image again. We recommend regularly opening your tagboards to keep these images online!
Why can't I create an Instagram hashtag content feed?
-
-
Check your 'Account Connections' page. If you see 'enable sign in with Facebook', then you will need your Tagboard team owner to set up Instagram and Facebook connections for all team members to utilize.
-
Instagram's API sets limitations on the total number of hashtags any user can monitor in a rolling 7-day window. Currently, that limit is 25. This limit is cumulative to any tool that uses Instagram's API, not just Tagboard.
-
You can only create a #hashtag feed for Instagram if someone has used that #hashtag before. If it is a brand new #hashtag for an event that hasn't happened yet, try posting with the hashtag first from a public Instagram account.
-


